Crème brûlée

Any name with this many notations above the vowels is bound to sound fancy — and complicated. I will admit, this recipe will take a little more equipment than my usual ones, but it will be all be worth it in the end

Photo Jul 29, 9 53 21 AM

Duration: 20 minutes prep, ~30 minutes bake + 2 hours cooling

Ingredients (for one 8-oz. ramekin):
1 egg yolk
1 tablespoon sugar
6 tablespoons heavy cream
1/4 teaspoon vanilla extract

Instructions:

Preheat the oven to 325F. Boil some water.

First, heat the cream until it just starts to bubble. You can do this in a small pan or in a microwave, though if you’re going for the latter option, keep a close eye over it. About 30 seconds should do the trick.

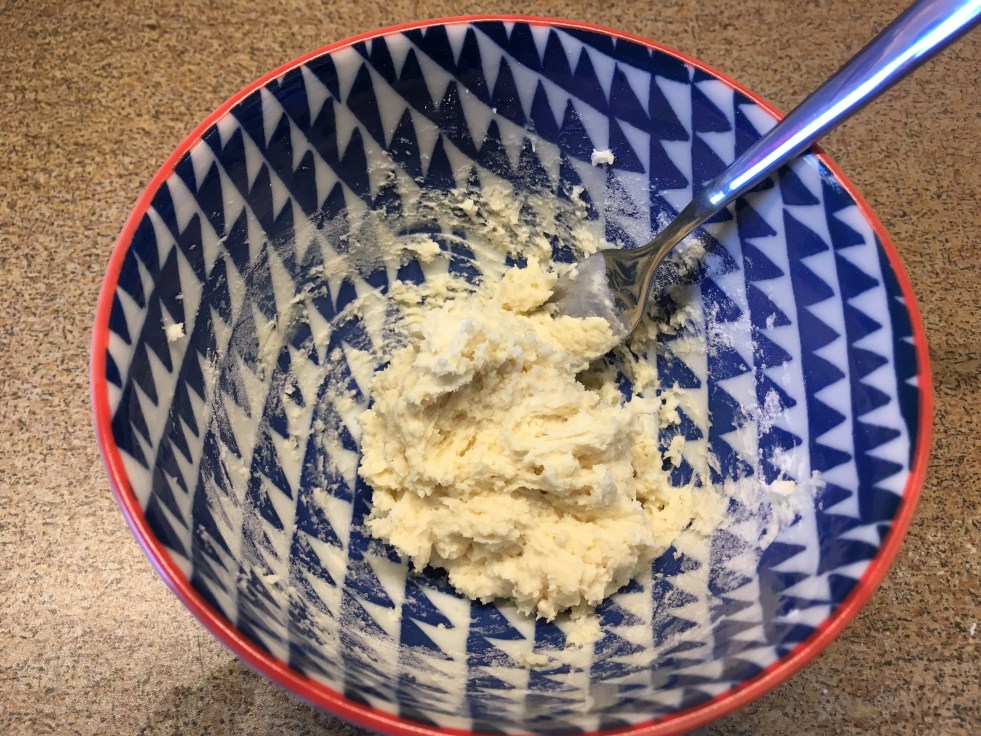
Next, mix the yolk and sugar until fluffy — kind of like the texture of pancake mix.

Photo Jul 15, 12 41 23 PMAdd the vanilla extract. Then drizzle in the cream slowly while you continue to mix the eggs — this is so we don’t end up prematurely cooking the eggs.

Now, strain the mixture before you pour it into the ramekin. If you have a strainer, great. You can also improvise like I did with a tea infuser. The point of this step is to remove the air bubbles, which tend to expand while baking.

If you don’t have anything that works, don’t worry! Take skim off the top layer of bubbles with a spoon. You’ll lose more liquid this way, but you won’t change the end result.

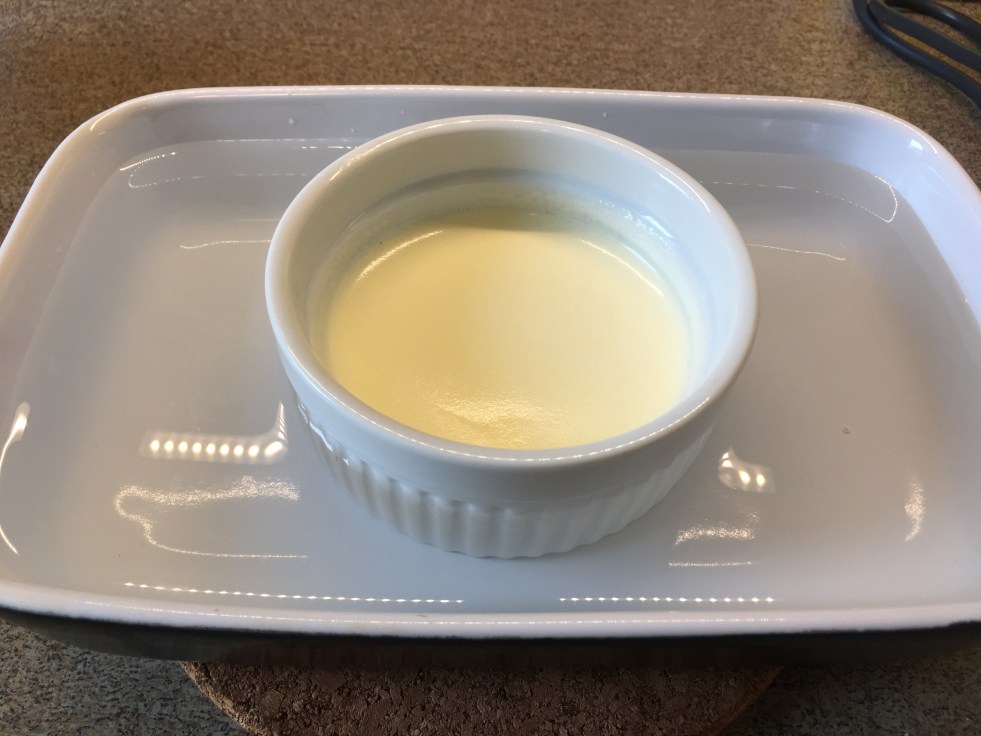
Place the ramekin into a larger, oven-safe container. I used a casserole dish. Carefully pour in the boiled water into the container, making sure you don’t splash any water into the ramekin. Ideally, the water should come to about the same height as the crème brûlée mixture.

Photo Jul 15, 12 50 07 PM

Place the whole contraption into the oven and bake for about 30 minutes, or until set. You want to take it out while it’s still a little jiggly, not rock-solid.

Remove the ramekin from the water bath, and let cool to room temperature outside. Then transfer it to the fridge and let it chill completely, for about two hours.

Here comes the fun part. Before eating, sprinkle some sugar on top.

Photo Jul 29, 9 50 41 AM

Broil for about 5 minutes until the sugar is caramelized, but the crème brûlée is still cold. Or if you have a blow torch, this is the time to bring it out! Just make sure you don’t burn the sugar (I definitely had burnt mine a little in the picture at the top.

Chocolate souffle

Souffle is something I’d assumed for a long time would be complicated, difficult to make and overall not worth the effort. But then it came up as one of the challenges on the Great British Baking Show, so I decided to investigate further — and it turns out, all you really need is a bit of patience.

Photo Jul 22, 11 59 41 AM

Duration: 15 minutes prep, ~20 minutes bake

Ingredients (for one 8-oz. ramekin):
1 egg
1 tablespoon sugar
1 oz. chocolate
A little butter and extra sugar, to grease the ramekin.

Instructions:

Preheat the oven to 350F. Butter the side of the ramekins, then coat it with granulated sugar.

First, melt the chocolate. I used 70% dark chocolate, because I like darker chocolate and that’s what I had at home. I placed about 4 squares of it in the microwave for about 2 minutes, checking it every 30 seconds or so to make sure it was not burning. Let it cool a little.

Photo Jul 22, 11 21 36 AM

Now combine just the egg white and sugar in a separate bowl. Make sure that everything that comes in contact with the egg white — your hands, the bowl, the whisk — is clean and dry, or it may not whip up properly. Getting yolk in there is also a big no-no.

Whip until it forms stiff peaks, like this.

Photo Jul 22, 11 34 08 AM

This will take some time, especially if you’re doing it by hand. Be patient!

Next, mix the yolk into the melted chocolate. Once it’s fully incorporated, pour it into the egg whites.

The goal here is to preserve as much of the air bubbles as possible while you combine the two mixtures. Using a spatula, scrape the side of the bowl in a circular motion, then “cut” through the middle using the edge of the spatula. Turn the bowl about 90 degrees, then repeat. Keep going until it’s more or less even — don’t worry about mixing it perfectly. Pour the batter into the ramekin, and bake for about 20 to 25 minutes.

Photo Jul 22, 11 38 10 AM

I’d advise against opening the oven door less than 20 minutes in, since you can cause the souffle to deflate. Take it out once it’s more or less set, with the middle still slightly jiggly. Eat it as soon as it comes out of the oven!

Blueberry cobbler

So what exactly is a cobbler? And how is it different from crumbles and crisps? All valid questions, and all topics of hot debate in the baking community. The prevailing opinion seems to be that a cobbler consists of cooked fruit topped with a biscuit batter — so that is what I’ll be sticking with.

Photo Jul 29, 6 16 11 PM

Duration: 5 minutes prep, 40 minutes bake

Ingredients (for one 8-oz ramekin):

for the filling
3/4 cup fresh blueberries
1 teaspoon flour
Lemon juice (optional, but highly recommended)
A little butter, to grease the ramekin

for the crust
2 tablespoon all-purpose flour
2 tablespoon heavy cream
1 teaspoon sugar
1/4 teaspoon baking powder

Instructions:

Preheat oven to 375F. Grease the ramekin.

First, we make the filling. Mix the blueberries, flour and lemon juice, if you have some lemon handy. You can add a little sugar in the mix if you’d like, but honestly, I think it’s plenty sweet without. I would advise against adding any more than 1 teaspoon of sugar.

You can also substitute the blueberries with whatever other fruit you might have.

Put the fruit in the ramekin and bake for 15 minutes. I would highly recommend putting your ramekin on a baking tray for this bake, just in case the fruit overflows.

While the fruit is cooking, prepare the biscuit topping. This is super easy — just mix all the ingredients in a bowl. It will be pretty sticky.

Photo Jul 30, 9 21 20 AM

Drop the batter on top of the fruit in blobs. They should look like cobble stones — which is supposedly where the name “cobbler” comes from.

Photo Jul 29, 5 54 43 PM

Return to oven and bake for about 25 minutes, until the top is golden brown. Consume while warm! A scoop of vanilla ice cream would make it even better.

Banana bread

There’s probably nothing I associate more strongly with childhood than banana bread. Let’s be real, I think this is the one thing we’ve all baked before, even those of us who aren’t really big bakers at heart. Other than the fact that we can all pretend we’re just eating fruit and therefore being healthy, it’s probably one of the easiest recipes there is.

photo-jul-23-11-42-13-am.jpg

Duration: 10 minutes prep, 45 minutes bake

Ingredients (for one 8-oz. ramekin):
1/2 banana
1 tablespoon butter, at room temperature
1 tablespoon sugar
4 tablespoons flour
1/4 teaspoon baking powder
1 egg, preferably medium-sized
Vanilla extract (optional)
A little extra butter and flour, to grease the ramekin

Instructions:

Preheat the oven to 350F. Grease and flour the ramekin (click here for a step-by-step).

In a bowl, mix the butter and sugar until fully combined.

In a separate bowl, mash the banana.

Photo Jul 23, 10 27 24 AM

Mix the banana into the sugar and butter mixture. Add the egg and a drop of vanilla extract, if you have any, and mix until incorporated.

Add the flour and baking powder, and mix until incorporated. If you want to add an extra something to your banana bread, like nuts or chocolate chips, this is the time to mix it in the batter. I decided to go with walnuts.

Photo Jul 29, 9 45 46 AM

The first few times, I chopped the walnuts too small and couldn’t find it anywhere in the finished product. You can definitely go bigger than you think you can.

Now, pour the batter into the ramekin. Don’t worry about smoothing the top, it really won’t matter at all.

Photo Jul 23, 10 44 01 AM

Bake for about 45 minutes, or until the top has a nice, brown color. I’d risk overbaking a little to get a nice crust on this one, since the batter’s pretty moist and won’t dry out too easily.

Basic sponge cake

It’s always good to have a recipe for a basic sponge cake in your arsenal. You can easily dress it up with some whipped cream and fruit, or use it as a base for a trifle — the possibilities are endless! Even better, this recipe requires just three basic ingredients and almost as few steps.

Photo Jul 25, 8 18 44 PM

Duration: 15 minutes prep, ~25 min bake

Ingredients (for one 8-oz. ramekin):
1 egg, preferably medium-sized
1.5 tablespoons all-purpose flour
1.5 tablespoons sugar
Vanilla extract (optional)
A little butter and flour, to grease the ramekin

Instructions:

First, preheat the oven to 325F.

Combine the egg, sugar and a splash of vanilla, if you have any, in a bowl and mix until white and fluffy. It should look like this:

Next, mix the flour into the batter. You want to keep as much of the air bubbles as you can, so make sure you don’t overmix!

Now, grease the ramekin so you can easily pop the cake out once it’s done. First spread a small amount of butter throughout the inside of the ramekin.

Then drop a small amount of flour and spread it throughout the ramekin, like so.

Make sure you shake off the excess flour.

Pour the batter into the ramekin and put it  in the oven. Bake for about 20 minutes, or until you can insert a toothpick into the cake and it comes out clean. Every oven is different (I know mine tends to run hot), so check on it as necessary.

Once it’s done, lightly drop the ramekin to the counter before carefully shaking the cake out of it. Let it cool to room temperature, then chill in the fridge for a few hours before serving.

Photo Jul 22, 12 48 49 PM

Ta-dah! You can see at the top how it shrank a little during the cooling process, but that doesn’t affect the taste, so don’t worry. I finished my cake off with some whipped cream, strawberry jam and sliced, fresh strawberries for a shortcake-like effect. Add your own flourish and make it yours!